A Blog about Greek Food and Greece

  • Organizing your food shopping

    Organizing your food shopping

    Lets talk about shopping. I get a lot of emails always from people asking me how do i manage and arrange the shopping list all the time so i have the right ingredients all the time in my fridge. So its time to answer all of those questions!!!

    Well, ok i need to be honest, no one has ever asked me that question, and i don’t think anyone has ever send me an email about anything other than some advertising spam mails… Nevertheless, i thought it was a nice way to start this blog, so that’s what we will pretend it happened!!!

    So, first of all lets make something clear. I work , Monday to Friday usually 9 to 6. So most of the times when i finish work, i want either to go to the local pub or if the weather is bad ( which in London is common) go straight home. What i mean by that is that there isn’t much time or will for shopping , every time…. Which is quite normal i guess everyone has the same feeling…

    What do we do?

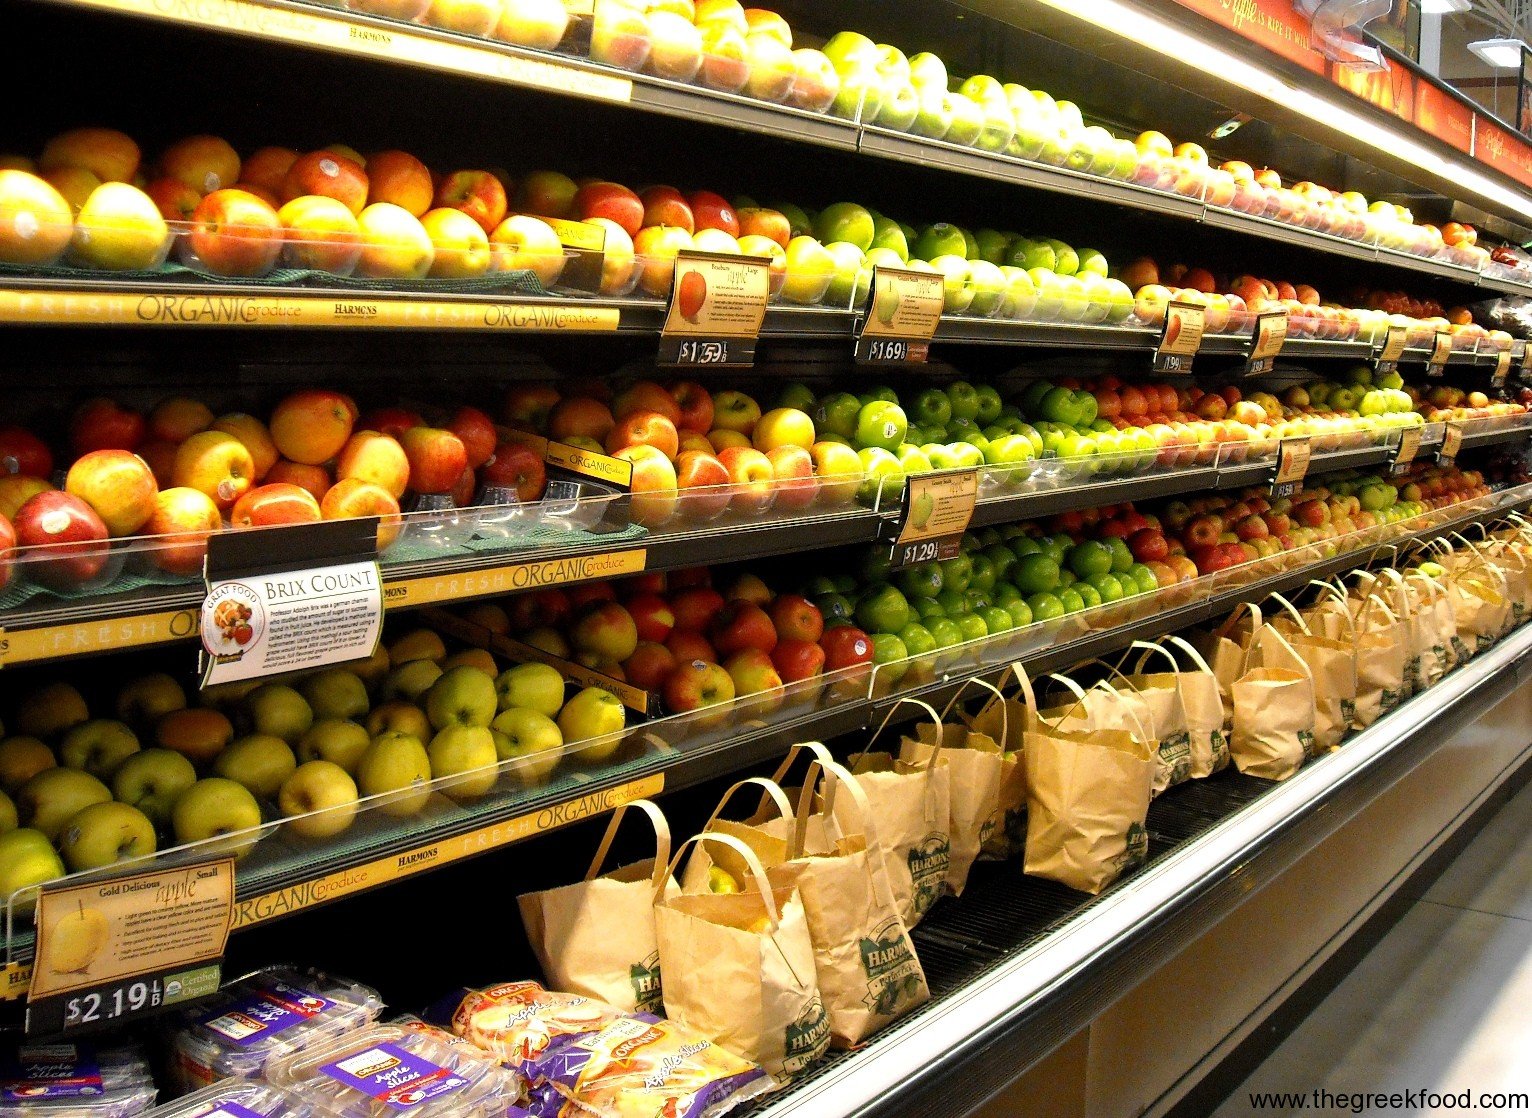
    First! Find the local store that is close to you! Yes that it is important, there must be some local grocery that is close to you that has the vital things. Onions, vegetables, coffee, or whatever else.

    There will be some time that you will try to cook something and realize that there is only 1 ingredient that is missing. I hate that moment….but it is good to know that most of the times you can get it really fast.

    You don’t wait until the last chance to decide what you want to eat. Programming is everything here. I still have on my mind to cook cod with skordalia sauce at some point in the next week…

    The main thing is always to have into your fridge the main ingredients so you can always have the opportunity to create based on them. And what are they? That’s an easy question, fish and meat and some basic vegetables. Nothing ground breaking huh? So lets make it a bit more clear..  Every week, or every second week if i am bored, i always find a chance to go to the local butcher or fishmonger to buy some the main ingredients of what i want to cook in the following days.

    Pasta is the easy thing, always have enough for those times that you want something easy. Fish that can be put to the freezer. If not you will have to cook it the same day, as it is always ideal for fish to eat it fresh in order to enjoy them better. But sometimes, fillets can be easily stored.

    For example if you have cod already in your freezer then it is really easy to add some small ingredients and cook it rather than going and buying them the same day.

    So, take away:

    Always make sure to have some basic ingredients in the freezer. 500gr of lamb, 500 gr of beef or pork, chicken breast, is always a good start

    But what next? Do we eat it as it is? Of course not. Well, if you have noticed most of the recipes over here, there are some basic ingredients that are always repeated.

    • Onions!
    • Garlic!
    • Tomatoes!
    • Olive oil of course
    • Feta cheese maybe also?

    After that there are some vegetables that are always good to have as they can be used in different recipes or as standalone.

    • Aubergines
    • Courgettes

    So you have those, and you have the basic ingredients for example to cook that or maybe that or a very traditional of that

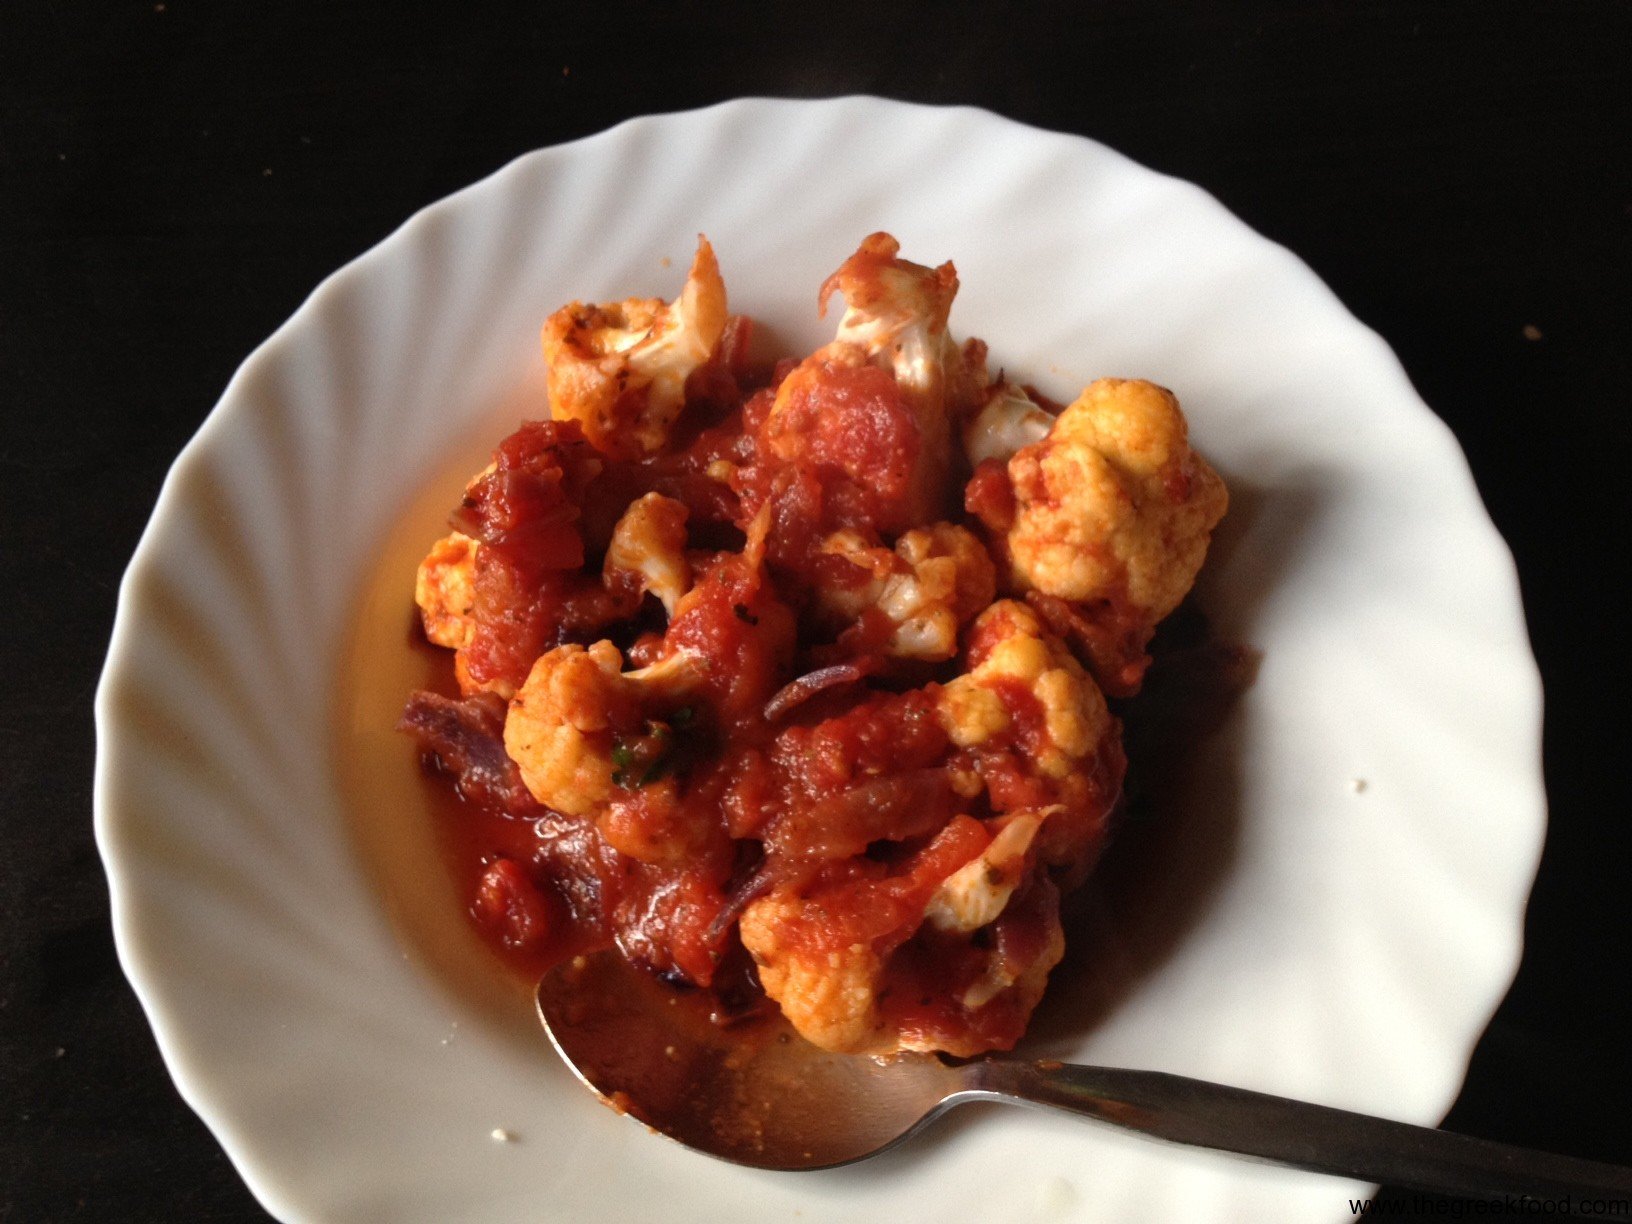
    And then again there are always the famous lentils and the beans. The whole idea behind is that with a minimum of 6-7 ingredients you can have quite a few different recipes and make quality dishes. Obviously if something is missing, you can always improvise and that again is the essence of cooking.

    Obviously, there are other things like salt, pepper, oregano and other famous spices used in the Greek kitchen but the point is always to have into your kitchen the basic ones in order to be able to do the rest.  That will always make things much easier, when you are at home with a big headache and the weather outside is cold and miserable… then again you could always order a pizza! 🙂 Which i have to admit, i have done a lot of times but… eventually its much more fun to create it by yourself.


  • Cuttlefish with Spinach

    Cuttlefish with Spinach

    When you get a call from your your brother saying:”im in the fishmonger….what do you want me to buy?” Well, you don’t know exactly what to answer….so the most natural answer that came to my mind was….”whatever you want”….and so he did.. A cuttlefish was what he decided to take amongst some others.

    So the first thing that came to my mind was to find a nice recipe that it is used in Greece for that and i had already one in mind. Most of the times when i was reading about cuttlefish, everyone was talking about cooking it with spinach and indeed it looked in the pictures really good.

    So why not try it?

    ink from cuttlefish
    Nope, its not chocolate, just the ink from the fish!

    What i didn’t took into consideration was the amount of time it needed for the cuttlefish to be cleaned. Honestly as you can see in the picture it was a blood both or…an inkbath. I have to say that at some point i couldn’t really understand what i was cutting due to the enormous amount of ink…. Thankfully i made sure i didn’t cut any fingers. There is one teeth that you need to make sure you remove from the cuttlefish which is exactly in the middle, and a big bone on the back…and you are ready to cook it!

    The following recipe is a classic during the great lent that happens before the orthodox easter. As it is full in vitamins and protein, cuttlefish with spinach is a great alternative for meat. The question that everyone has though, is why we dont cook it more often as it is really easy to make and it shouldn’t give you any trouble. In this case i had to clean the cuttlefish but if you have your fishmonger do the job for you then the rest (as you will see) is easy!

    Ingredients for cuttlefish with spinach

    • 1 cuttlefish , chopped and cleaned
    • Around 1 kilo of spinach cut in really thin slices
    • A small bunch of dill chopped
    • 3-4 small mint leaves chopped
    • 1 t/s of tomato paste
    • 1 large onion chopped
    • 2 garlic cloves
    • Olive oil
    • Salt and pepper
    • 1 glass of ouzo or white wine

    Method

    Ideally you should have cleaned the cuttlefish from the ink and removed all the bones from the fish. Some people throw the ink, some others use it to cook the fish together with the ink. Its up to you. When i asked my about it he had the following thing to say.

    Only the cuttlefish throws away its ink to escape from the predators. We eat it!

    Captain Jacob (My father)

    Here is the trick though that i learned recently. Take it a deep pot and put in high heat for 3-4 minutes and let it burn without anything other than some salt. Afterwards, throw in the cuttlefish and stir it for couple of minutes.

    Add then, the two garlic cloves as well as the onions. Stir and then add, the dill, and then pour the glass with ouzo. Let the ouzo evaporate for 1-2 minutes.

    Now, add the tomato paste, salt and pepper and finally the spinach. You need to be careful, as the spinach, will remove a lot of liquids. We need to add around 200gr of water and let it boil for 20-30 minutes. Its better though to add the water slowly and observe as you dont want to make it a soup.

    When its almost ready, add the zest from one lemon,and then juice from the lemon and its ready to serve!

    Enjoy 🙂

  • Grilled Pork Souvlakia with oven potatoes

    Grilled Pork Souvlakia with oven potatoes

    Everyone knows by now how beloved is souvlakia in Greece and how often it is consumed everywhere. In Athens, in Thessaloniki, on the islands, on the small villages…it doesn’t matter. You will hear it sometimes with different names in Greece but always with same style.
    One Saturday morning after an excessive alcohol abuse on Friday night, I was so much wishing I could order some to my house like the ones they have in Greece. Didn’t want any pizza, or burger…just a good souvlakia dish. Well, there were some initial problems, first the hangover from last night’s rum and coca cola, and the fact I didn’t had any yogurt or pita bread to try and cook one with the more traditional recipe.

    It doesn’t matter; you still can make something nice…as long as you manage to control your hangover.

    INGREDIENTS FOR PORK SOUVLAKIA WITH OVEN POTATOES

    • 500gr of pork chopped in medium size cubes
    • 4-6 skewers’… or anything close to that you can find so you can stick the food, i had to improvise…
    • Around 10-15 cherry tomatoes
    • 2-3 large potatoes cut in different sizes
    • 2 onions chopped in large wedges
    • 2 green peppers chopped in large wedges again
    • Olive Oil
    • Salt and pepper
    • Oregano, much of oregano

    METHOD

    • Drink a large glass of water to relieve the pain from the headache and then take some painkillers Then we are going to start preparing the potatoes, I found a really nice way for good oven potatoes. Take a big pot and fill it with water, put the potatoes in, bring it to a boil and let them boil for 15 minutes until you see the potatoes are soft you can pinch them with a fork
    • When its done, remove the water and keep the potatoes (obviously..) . Add them in to a baking pan and sprinkle with salt and oregano, adding also olive oil so the potatoes are not stuck. Put them into the oven for 200c for 20-25 minutes until you see they start to become brown on the outside.
    • As the potatoes are being cooked you take the ingredients and start preparing the souvlakia. As a basic rule, start with a vegetable, and end with a vegetable. Don’t cut the cherry tomatoes in two, as it will remove the juices from them. Put lot of salt, pepper, oregano and oil on them before you start placing them on the skewers.
    • When you are finished, add them on the grill and cook them for 15 more minutes turning them every 4-5 minutes from each side. You can keep the potatoes underneath so to keep warm.


    Serve them with a bit of parsley if you want, and some sauce of your choice.

  • Chocolate pudding with bread

    Chocolate pudding with bread

    Couple of years ago me and my brother had the idea to buy a laptop to my mother so she can start and communicate with us much more easily. Well, once when I was talking with her, I admitted how I missed her sweet recipes and the various cakes she made.Making a cake can be really difficult as you don’t have the chance to make a mistake in the ingredients. A small change, a small miss and most of the times the hours you invested can go immediately to the bin. That’s why I asked my mother if there was something relatively easy that I could do without spending so much time. Mothers always have something for their sons…  So she lost no time and started writing the following recipe which I gladly followed..

    The following is called chocolate pudding with bread, slices of bread we use for toast. Indeed its one of the easiest things that i tried and one you can’t really go too wrong with it. In the end my mother reminded to me that she did it when she had visited me once in UK with a small variation. Well, the important thing is that, i managed to do it without destroying our kitchen, my brother liked it, and Silvia (our italian flatmate) also liked it. So it is guaranteed from everyone and all possible ways. If there was an ISO approval for that chocolate pudding …this recipe would have it. (i think…)

    chocolate pudding
    Ready for the oven

    INGREDIENTS

    • 12 slices of bread for toast with the harder outer part removed
    • 110gr sugar
    • 425gr of pouring cream
    • 200gr of sweet cacao
    • 75gr of butter
    • A small cup of nutella
    • 1 cinnamon stick or a small spoon of cinnamon powder
    • 3 eggs

    DOING THAT PUDDING

    • First we take some butter and we spread it on the baking pan internally on all the sides.Spread a bit of nutella on the slices of bread and place them on the pan with the side that has the nutella down
    • In a pot add the pouring cream and warm it up but be careful not to boil. Add the cinnamon (if you put cinnamon stick remove it later on) and the remaining of the butter and the cacao and keep stirring it so they are mixed together. Always, keep them warmed up but not boiling.
    • In small plate hit 3 eggs and mix them. Remove the chocolate mix from fire and then add the eggs and stir really strong so the eggs are not cooked.
    • Take the mixture and add 2/3 over the bread in your baking pad and spread it around. Put the rest of the slices of bread that you have on top always remembering to add Nutella on the outer side of the bread.Pour the remaining of the chocolate mixture you made on top covering the slices of bread. Use a spoon or a knife to spread it all over.
    • Now the important part!!Take a bigger pan than the one you have place the cake and fill it with water and place the other one inside. Fill the bigger baking pan with water; just enough so it won’t spill to the chocolate cake while its being cooked.
    • The whole idea is that as it will be in the oven, the water will be boiling cooking it nicely from all the sides keeping the inner part of the cake soft. (well…what can I say…mothers, they know all the tricks.) Cook it for 30 minutes, just when you realize that the chocolate is thick and still that you can pinch it with a fork.

    An immense wave of chocolate is ready for you!

    chocolate pudding


  • A red cauliflower

    A red cauliflower

    I never liked cauliflower to be honest, never as an ingredient or in the way that usually it is cooked in Greece….or in general. Nevertheless it is a classic ingredient of the Greek cuisine.

    Every ingredient can be cooked in a number of different ways and that is what i learn constantly. My father always prefers to have the cauliflower boiled with some olive oil and lemon i think, which is ok but decided to do something differently after some ideas that i got here and there.

    Basically i have always seen people cooking cauliflower with red sauce and it was something that got me intrigued to try it.To be honest it was my second attempt as the first one was a bit too ….”heavy” in taste i think for my likings.

    Despite that, you know what they say, if you dont succeed the first time….cook it again! 🙂

    CAULIFLOWER WITH RED SAUCE

    • A small bunch of cauliflower cut in small pieces
    • Can of tomato juice
    • 1 small onion chopped
    • 1 cinnamon stick
    • Salt , pepper
    • Olive oil
    • Oregano
    • Small bunch of basil trimmed

    Method

    • Well, in the beginning you will need a frying pan, preferably a deep one. Add some olive oil in it….very few..heat it up and add the onions When they are a bit brownish, add the cauliflower small bunches that you have and stir them around.
    • Just when you notice the outer side of the cauliflowers to become a bit brown then add the tomato juice from the can and stir. Add a liiiiiiiitle bit of water and lower the heat and let them bowl slowly.
    • Continue with add a bit salt, pepper, oregano, the basil and the cinamon stick. Let them to boil slowly and add a bit of water if necessary. Ideally after 20 minutes they should be really soft and holding there form in the same time

    Enjoy